How to Integrate Next.js with Strapi Backend and Create a common utility class for REST APIs
Introduction In this post, we will integrate Next.js with Strapi fully. And we…
May 07, 2021
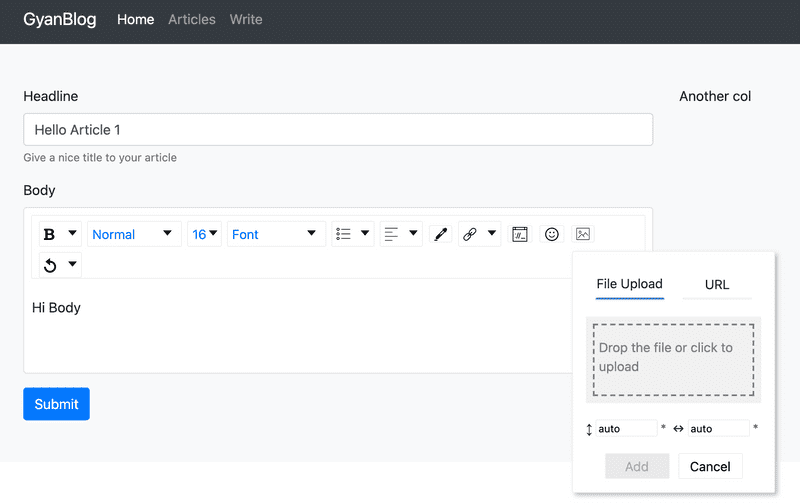
In this post, we will use Draft.js WYSWYG editor in Next.js with strapi. And, we will create a write article page.
We will do following:
Previously we have seen:
In this post, I will be using my Next.js starter bootstrap
Draft.js as an awesome WYSWYG editor from facebook. It is one of the top used component in React. Lets integrate it into our Next.js application.
Modules required
draft-js
react-draft-wysiwyg
Its pertty simple to use. And you can customize it according to your need. I’m using the simple default one in this app.
Lets create a separate component for Draft.js, so that we can easily customize it later on.
Add a new file at: /components/editor/editor.jsx
I will be using my Utility class for REST API in Next.js
import React, { Component } from 'react'
import {EditorState} from "draft-js";
import dynamic from 'next/dynamic';
import apiClient from '../api/api_client'
import { convertFromRaw, convertToRaw } from 'draft-js';
const Editor = dynamic(
  () => import('react-draft-wysiwyg').then(mod => mod.Editor),
  { ssr: false }
)
import "react-draft-wysiwyg/dist/react-draft-wysiwyg.css";

export default class ArticleEditor extends Component {
  constructor(props) {
    super(props);

    this.state = {
      editorState: EditorState.createEmpty()
    };
  }

  onEditorStateChange = (editorState) => {
    this.setState({
      editorState,
    });
    this.props.handleContent(
        convertToRaw(editorState.getCurrentContent()
    ));
  };

  uploadImageCallBack = async (file) => {
    const imgData = await apiClient.uploadInlineImageForArticle(file);
    return Promise.resolve({ data: {
      link: `${process.env.NEXT_PUBLIC_API_URL}${imgData[0].formats.small.url}`
    }});
  }

  render() {
    const { editorState } = this.state;
    return (
      <Editor
        editorState={editorState}
        toolbarClassName="toolbar-class"
        wrapperClassName="wrapper-class"
        editorClassName="editor-class"
        onEditorStateChange={this.onEditorStateChange}
        // toolbarOnFocus
        toolbar={{
          options: ['inline', 'blockType', 'fontSize', 'fontFamily', 'list', 'textAlign', 'colorPicker', 'link', 'embedded', 'emoji', 'image', 'history'],
          inline: { inDropdown: true },
          list: { inDropdown: true },
          textAlign: { inDropdown: true },
          link: { inDropdown: true },
          history: { inDropdown: true },
          image: {
            urlEnabled: true,
            uploadEnabled: true,
            uploadCallback: this.uploadImageCallBack,
            previewImage: true,
            alt: { present: false, mandatory: false }
          },
        }}
      />
    )
  }
}
First notice, how we have used: react-draft-wysiwyg. It has been imported differently.
If we import it like:
import Editor from 'react-draft-wysiwyg';Then, we will get following error:
Server Error
ReferenceError: window is not definedWe have set two event handlers for title and body.
For the body where we have used Draft.js WYSWYG. We are using a Draft.js function convertToRaw to save data in state.
We have configured an option in options for Draft.js
image: {
  urlEnabled: true,
  uploadEnabled: true,
  uploadCallback: this.uploadImageCallBack,
  previewImage: true,
  alt: { present: false, mandatory: false }
},
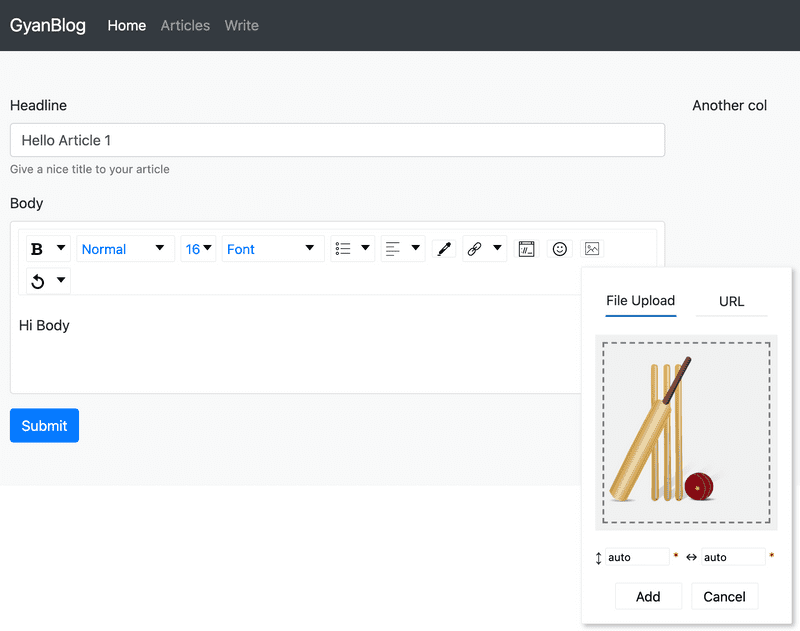
By default, We have enabled image upload. And have defined a callback handler for image upload. I have made alt off for users to enter. Else, the dialog box for image upload will not allow to upload image without entering alt attribute for image. Although, its a good feature but think from a user’s perspective. Why would he be forced to enter this.
For Image upload, I have used my Rest client class.
uploadImageCallBack = async (file) => {
    const imgData = await apiClient.uploadInlineImageForArticle(file);
    return Promise.resolve({ data: {
      link: `${process.env.NEXT_PUBLIC_API_URL}${imgData[0].formats.small.url}`
    }});
  }
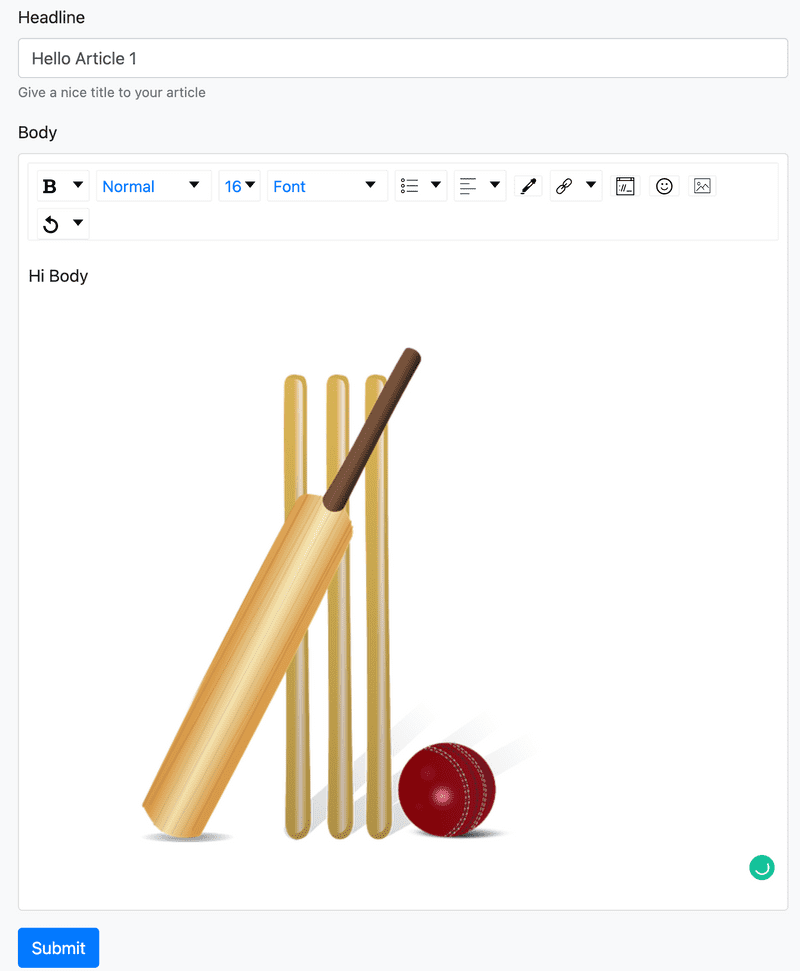
The upload image callback need to return a promise with link of image. So that, it can show that image in the editor. In your case, the path might change.
And, the code from apiClient for uploading image:
async uploadInlineImageForArticle(file) {
  const headers = await this.getAuthHeader();
  const formData = new FormData();
  formData.append('files', file);
  try {
    let { data } = await axios.post(
      `${process.env.NEXT_PUBLIC_API_URL}/upload`,
      formData,
      {
        headers: headers,
      }
    )
    return data;
  } catch (e) {
    console.log('caught error');
    console.error(e);
    return null;
  }
}
Note, you would need to configure permission to upload image in your strapi backend.
Page: /pages/write.jsx
import SimpleLayout from '../components/layout/simple'
import React, { Component } from 'react'
import { Form, Button, Card } from 'react-bootstrap';
import { withRouter } from 'next/router'
import ArticleEditor from '../components/editor/editor'
import apiClient from '../components/api/api_client'

class Write extends Component {
  constructor(props) {
    super(props);
    this.state = {
      title: "",
      body: ""
    };

    this.handleInputs = this.handleInputs.bind(this);
    this.submitForm = this.submitForm.bind(this);
  }

  handleInputs = (event) => {
    let {name, value} = event.target
    this.setState({
      [name]: value
    });
  }
  handleEditorContent = (content) => {
    this.setState({
      body: content,
      articleUpdated: true
    });
  }

  submitForm = async (event) => {
    event.preventDefault()
    let article = await apiClient.saveArticle({
      title: this.state.title,
      body: JSON.stringify(this.state.body)
    })
    this.props.router.push(`/articles/${article.slug}`);
  }

  render() {
    return (
      <SimpleLayout>
      <div className="row">
        <div className="col-8">
        <Form onSubmit={this.submitForm}>
          <Form.Group controlId="formBasicEmail">
            <Form.Label>Headline</Form.Label>
            <Form.Control type="text"
              name="title"
              value={this.state.title}
              onChange={this.handleInputs} />
            <Form.Text className="text-muted">
              Give a nice title to your article
            </Form.Text>
          </Form.Group>

          <Form.Group controlId="exampleForm.ControlTextarea2">
            <Form.Label>Body</Form.Label>
            <Card className="p-2">
              <ArticleEditor
                handleContent={this.handleEditorContent}
                />
            </Card>
          </Form.Group>
          <Button variant="primary" type="submit">
            Submit
          </Button>
        </Form>
        </div>
        <div className="col-4">
          Another col
        </div>
      </div>
    </SimpleLayout>
    )
  }
}
export default withRouter(Write);
So we have integrated our Draft.js component here. We are setting the state as blank title and body.


I hope you have read Configure strapi for sluify url
When we submit request to save an article. We get the data back and a slug field as well. We would want the URL to be something like:
/articles/article-title-slugExample, I have put title as: Hello Article 1, following is the response:
author: {confirmed: true, blocked: false, _id: "608e0771a81d84396e94a1d8", username: "test", email: "[email protected]", …}
body: "{"blocks":[{"key":"dcdja","text":"Hi Body","type":"unstyled","depth":0,"inlineStyleRanges":[],"entityRanges":[],"data":{}},{"key":"8fnnj","text":"","type":"unstyled","depth":0,"inlineStyleRanges":[],"entityRanges":[],"data":{}},{"key":"7lcfr","text":" ","type":"atomic","depth":0,"inlineStyleRanges":[],"entityRanges":[{"offset":0,"length":1,"key":0}],"data":{}},{"key":"7dk6o","text":"","type":"unstyled","depth":0,"inlineStyleRanges":[],"entityRanges":[],"data":{}}],"entityMap":{"0":{"type":"IMAGE","mutability":"MUTABLE","data":{"src":"http://localhost:1337/uploads/small_cricket_155965_640_ab625e04e3.png","height":"auto","width":"auto"}}}}"
createdAt: "2021-05-07T10:47:37.411Z"
id: "60951ac97425296c83caf0fe"
published_at: "2021-05-07T10:47:37.392Z"
slug: "hello-article-1"
title: "Hello Article 1"
updatedAt: "2021-05-07T10:47:37.418Z"
__v: 0
_id: "60951ac97425296c83caf0fe"
Note the slug: slug: "hello-article-1"
To redirect, I have imported withRouter
import { withRouter } from 'next/router'And, exported the component wrapped under withRouter
export default withRouter(Write);Now, in submitForm handler, I have used below code:
this.props.router.push(`/articles/${article.slug}`);Now, I should be having a page which will receive this call:
/pages/articles/[...slug].jsx
import SimpleLayout from '../../components/layout/simple'
import draftToHtml from 'draftjs-to-html';
import { useSession, getSession } from 'next-auth/client'
import React from 'react'
import Link from 'next/link'
import ErrorPage from 'next/error'
import apiClient from '../../components/api/api_client'

export default function Article(props) {
  if (props.error) {
    return <SimpleLayout>
      <ErrorPage statusCode={props.error.statusCode} />
    </SimpleLayout>
  }
  const body = draftToHtml(JSON.parse(props.body));
  return (
    <SimpleLayout>
      <h1>{props.title}</h1>
      <h4>Author: {props.author.username}</h4>
      <div dangerouslySetInnerHTML={{__html: body}}></div>
    </SimpleLayout>
  )
}

export async function getServerSideProps(context) {
  const session = await getSession(context);

  try {
    let data = await apiClient.getArticleBySlug(context.query.slug[0]);
    if (!data || data.length == 0) {
      return {props: {error: {statusCode: 404}}}
    }

    return {props: data[0]}
  } catch(error) {
    return {props: {error: {statusCode: 404}}}
  }
}
Here, I’m fetching article by slug by api:
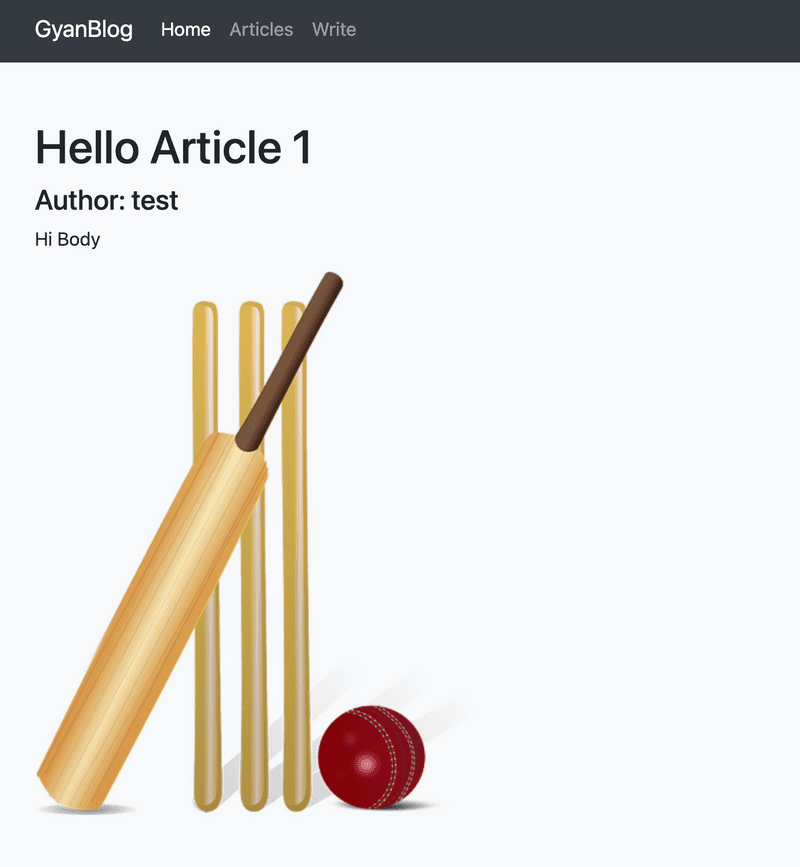
GET /articles?slug=<slug>Page will look like:

Note the url: http://localhost:3000/articles/hello-article-1
We have two workflows:
Whatever text and image we have written in the WYSWYG editor, it will not be saved as text. It generates a json.
If you notice above code, on editor content change, we are saving state as:
convertToRaw(editorState.getCurrentContent()And, in write.jsx, before saving, we are doing:
body: JSON.stringify(this.state.body)A sample json from above example:
{
    "blocks": [
        {
            "key": "dcdja",
            "text": "Hi Body",
            "type": "unstyled",
            "depth": 0,
            "inlineStyleRanges": [],
            "entityRanges": [],
            "data": {}
        },
        {
            "key": "8fnnj",
            "text": "",
            "type": "unstyled",
            "depth": 0,
            "inlineStyleRanges": [],
            "entityRanges": [],
            "data": {}
        },
        {
            "key": "7lcfr",
            "text": " ",
            "type": "atomic",
            "depth": 0,
            "inlineStyleRanges": [],
            "entityRanges": [
                {
                    "offset": 0,
                    "length": 1,
                    "key": 0
                }
            ],
            "data": {}
        },
        {
            "key": "7dk6o",
            "text": "",
            "type": "unstyled",
            "depth": 0,
            "inlineStyleRanges": [],
            "entityRanges": [],
            "data": {}
        }
    ],
    "entityMap": {
        "0": {
            "type": "IMAGE",
            "mutability": "MUTABLE",
            "data": {
                "src": "http://localhost:1337/uploads/small_cricket_155965_640_ab625e04e3.png",
                "height": "auto",
                "width": "auto"
            }
        }
    }
}
And we save this json as string in our database.
Now, its time to load the content.
We are using a module draftjs-to-html and below code:
import draftToHtml from 'draftjs-to-html';
const body = draftToHtml(JSON.parse(props.body));

<div dangerouslySetInnerHTML={{__html: body}}></div>
draftToHtml convert our draft.json to renderable html. Which we are using in last div tag.
Next.js provides a handler for this. We have used following code:
import ErrorPage from 'next/error'
<ErrorPage statusCode={props.error.statusCode} />
From getServerSideProps, we are checking if we got nothing by get api. And, then setting error code.
In the function component, we are checking if error is set, redirect to that error code page.
This article is already so long, I’m moving Edit part in nexrt article: Edit Article in Next.js with Draft.js
In next post, we will see complete code in Github.
Introduction In this post, we will integrate Next.js with Strapi fully. And we…
If you are using Bootstrap, the default font that comes with the package is…
Note: This is based on bootstrap-4 If you are using multi column design in your…
Introduction In this post, we will see How to load external images to your next…
Introduction In this post, we will do following: create a Next.js project…
Introduction This post is in contuation of our previous post: How to use Draft…
Introduction In this post we will see following: How to schedule a job on cron…
Introduction There are some cases, where I need another git repository while…
Introduction In this post, we will see how to fetch multiple credentials and…
Introduction I have an automation script, that I want to run on different…
Introduction I had to write a CICD system for one of our project. I had to…
Introduction Java log4j has many ways to initialize and append the desired…